智能合约学习笔记
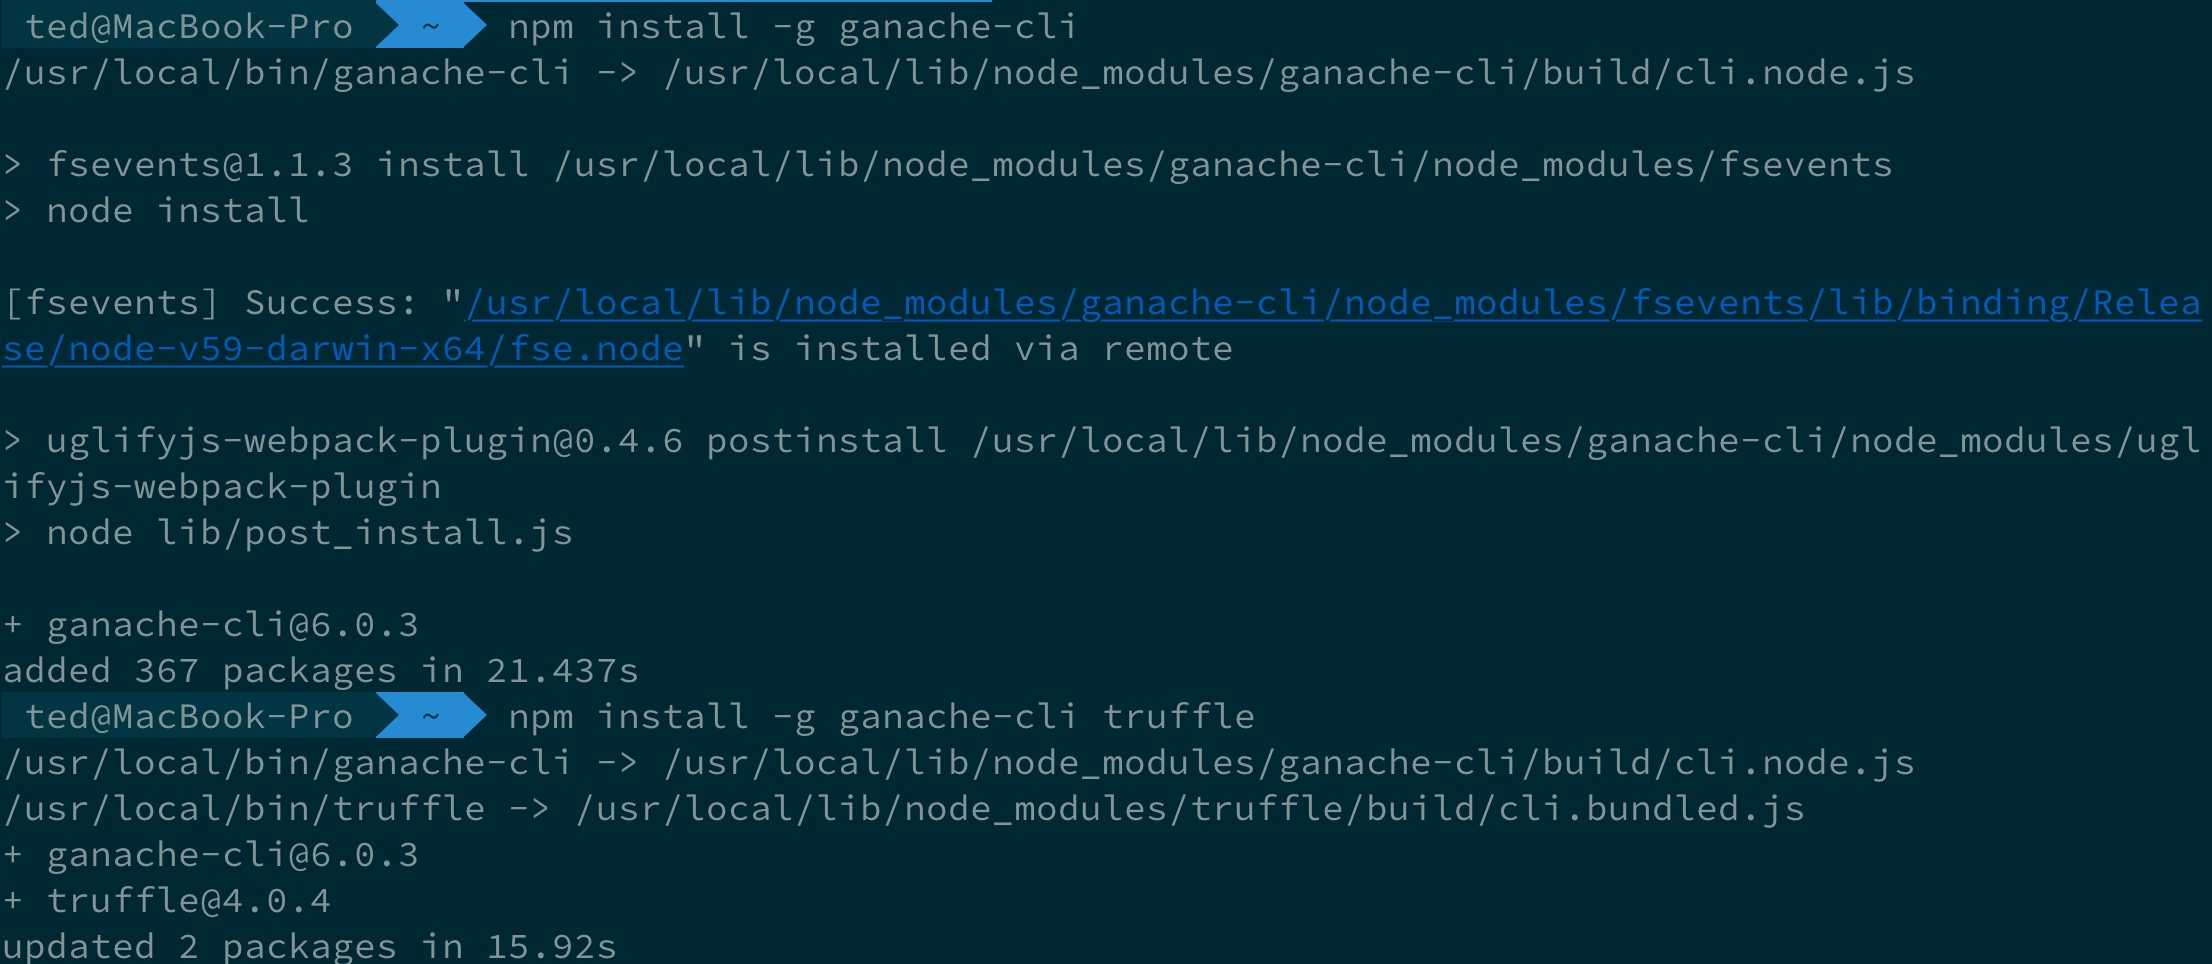
1. 安装testrpc、truffle
1 | $ npm install -g ganache-cli truffle |

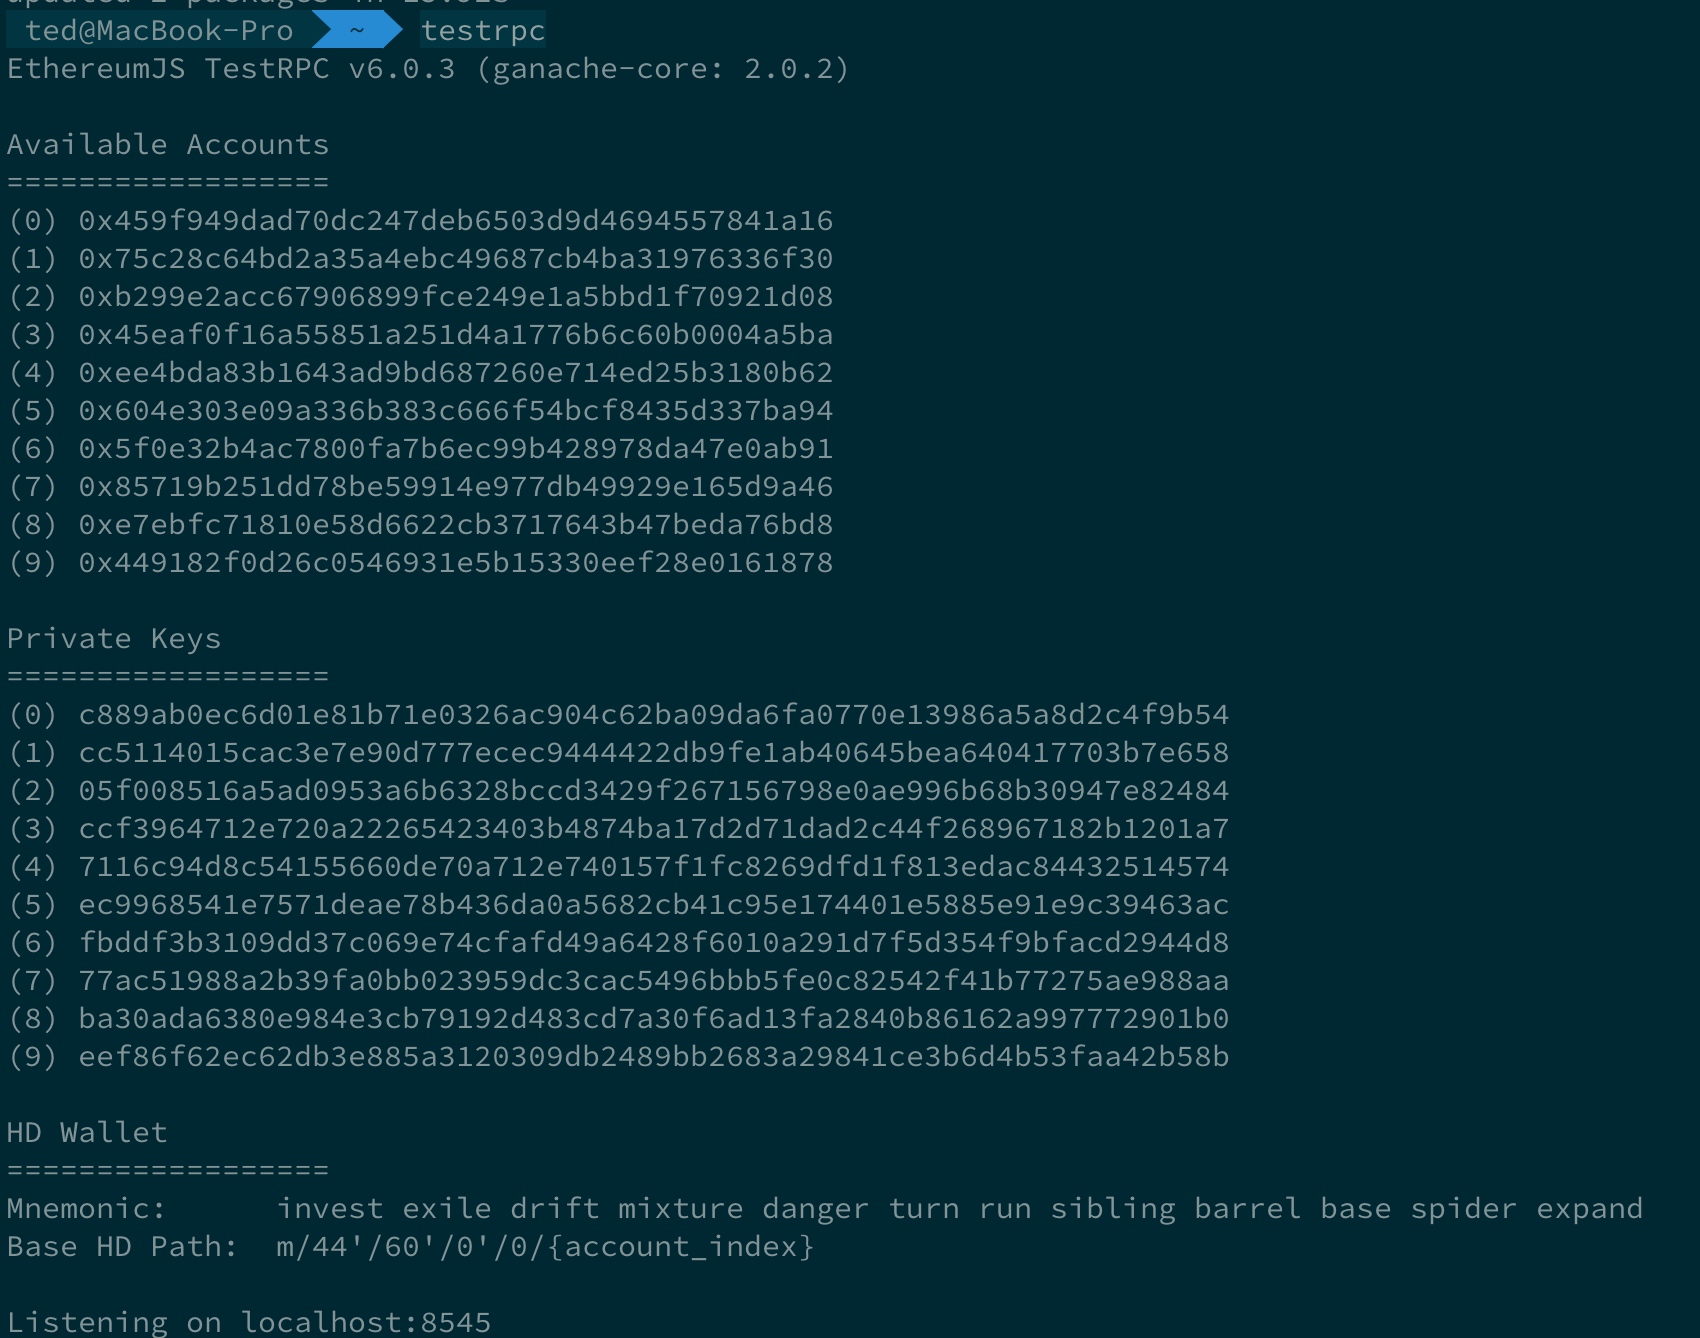
2. 启动testrpc
1 | $ testrpc |

3. 创建智能合约项目
3.1 初始化项目
新开一个终端窗口,通过以下命令建立项目:
1 | ted@MacBook-Pro ~ mkdir SmartContact |
需要对目录结构做一个解释说明:/contracts : 存放智能合约原始代码的地方,可以看到里面已经有一个sol文件。/migrations : 这是 Truffle用来部署智能合约的功能。/test : 测试智能合约的代码。truffle.js : Truffle的设置文件。
3.2 创建HelloWorld合约
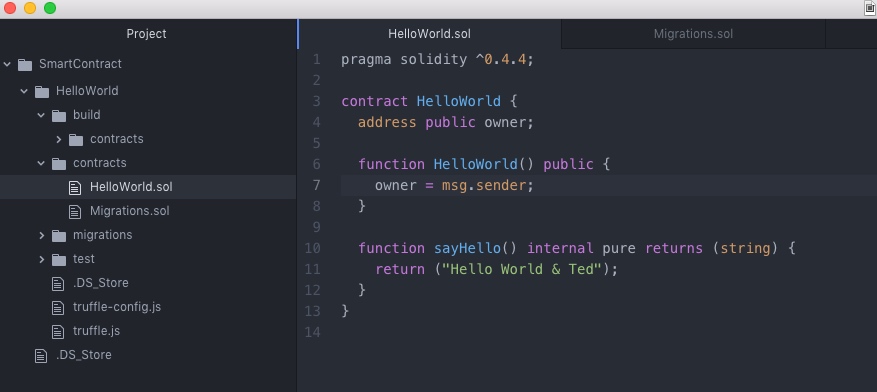
在contracts文件夹中创建HelloWorld.sol文件,内容如下:
1 | pragma solidity ^0.4.4; |

3.3 编译
在项目的目录下执行truffle compile命令,将sol文件编译成Ethereum bytecode
1 | ted@MacBook-Pro ~/SmartContract/HelloWorld truffle compile |
3.4 部署
在migrations文件夹中已经存在一个配置文件,1_initial_migration.js,仿照这个文件新建一个2_deploy_contracts.js,内容如下:
1 | var HelloWorld = artifacts.require("HelloWorld"); |
在命令行中执行truffle migrate开始部署,可能会遇到以下问题:
问题1:no-network-specified-cannot-determine-current network

解决办法是在`HelloWorld/truffle.js·文件中添加以下内容:
1
2
3
4
5
6
7
8
9
10
11module.exports = {
// See <http://truffleframework.com/docs/advanced/configuration>
// to customize your Truffle configuration!
networks: {
development: {
host: "127.0.0.1",
port: 8545,
network_id: "*" // Match any network id
}
}
};
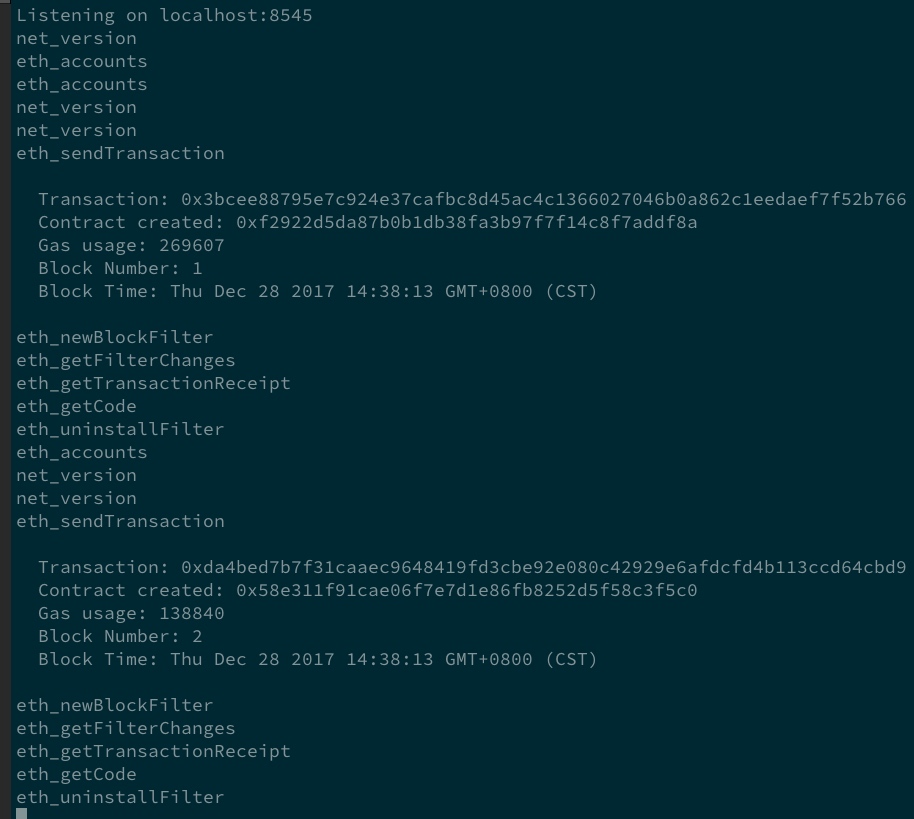
如果没有问题,顺利执行之后,智能合约即可部署成功
1 | ted@MacBook-Pro ~/SmartContract/HelloWorld truffle migrate |
于此同时testrpc的窗口也有一些内容输出:
3.5 调用合约
通过命令truffle console进入truffle控制台,即可使用Javascript调用刚才部署的合约。
1 | ted@MacBook-Pro ~/SmartContract/HelloWorld truffle console |
需要解释一段代码
1 | HelloWorld.deployed().then(instance => contract = instance) |
·truffle console中预载了truffle-contract`函数库,以方便操作部署到区块链上的合约。
这边使用HelloWorld.deployed().then语句来取得HelloWorld合约的Instance(实例),并存到contract变量中,以方便后续的调用。
上面用的是Javascript ES6+的语法,这句也可以写成:
1 | HelloWorld.deployed().then(instance => { |
还可以用ES5的写法:
1 | HelloWorld.deployed().then(function(instance) { |
这里直接呼叫contract.sayHello()也会得到一样的结果。truffle-contract提供使用call()来读取只读(read only)的数据,这样就不需提供gas。因此如果遇到的操作需要向区块链写入数据,我们就不能用call语句了。
最后在truffle console中输入.exit即可退出控制台回到终端页面。